How to link the Jira integration
How to include activity from Jira in your Range check-in
For teams using Jira, Range has an integration that automatically imports issues and sub-tasks into your Check-ins sidebar. Once you set up the integration, you’ll be able to add issues and sub-tasks from Jira to your Range Check-ins with a single click.
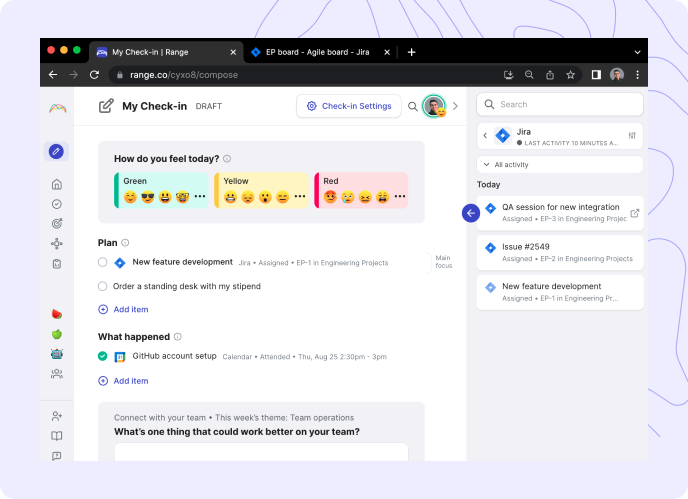
You’ll see suggestions for Jira issues and sub-tasks in Range when:
-
You create an issue and assign it to someone.
-
You reassign an issue to someone else or an issue is assigned to you.
-
You update an issue’s status or an issue that’s assigned to you has its status updated.
-
You resolve an issue or an issue that’s assigned to you is resolved
**Note: **Range doesn’t backfill issues but rather sends issues to your Check-ins sidebar once they are assigned to you. New activity on issues will trigger new suggestions in Range for items to include in your Check-ins.
There are two parts to setting up the Jira integration. First, an admin for your organization needs to set up the Jira integration for your organization. See instructions for admin here. Second, each teammate who wants to receive Jira suggestions in Range will need to follow the “Link your Jira identity to Range” instructions below.
Linking your Jira identity to Range
Once a Range admin has set up the Jira integration for your organization, Range will import activity for each teammate based on their email address.
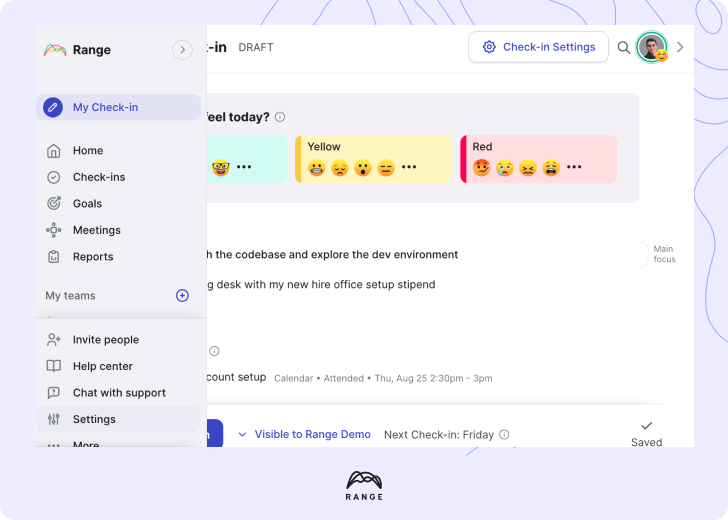
- Log into your Range account and select “Settings” at the bottom left.
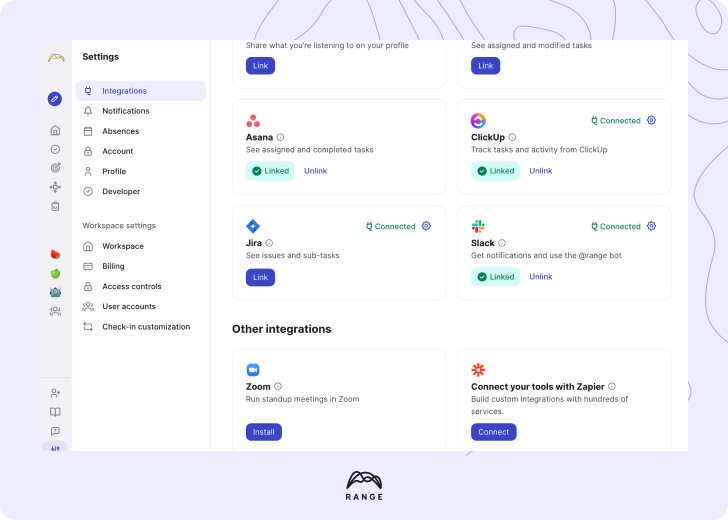
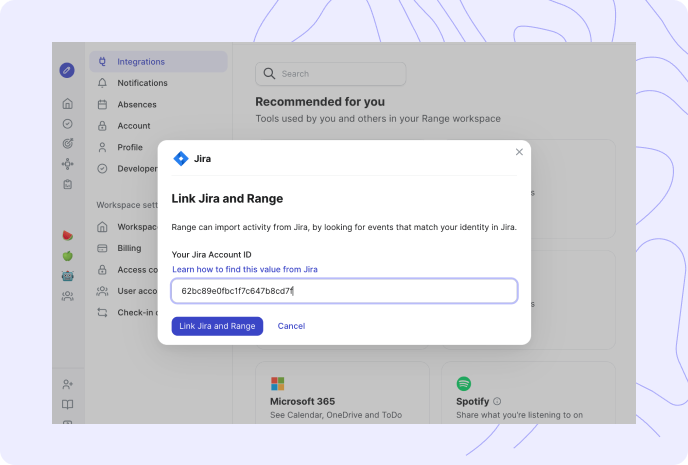
- Click “Integrations.” Then, find Jira and click “Link.”
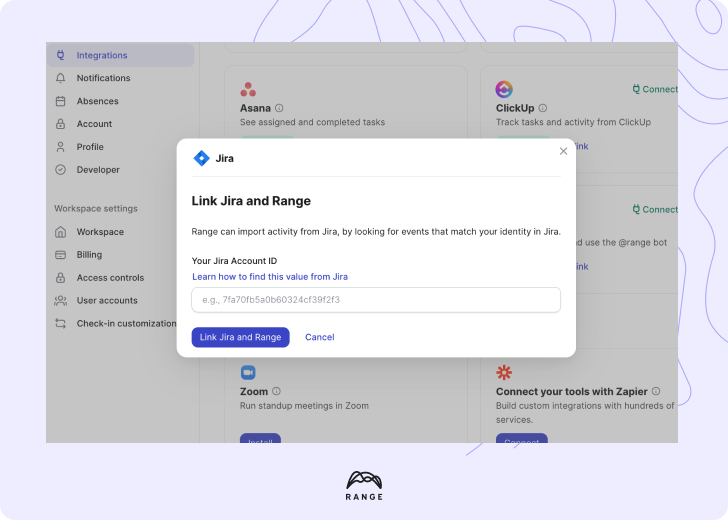
- Once you click “Link,” a dialog box will appear. Enter your Jira Account ID in the dialog box to link your Jira identity to Range. **Note: **Having trouble finding your Account ID? Review the instructions below.
How to find your Jira User Account ID and add it to Range
-
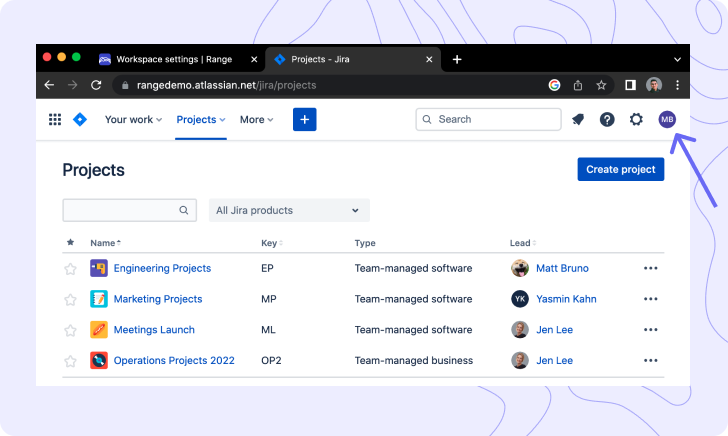
Sign into your Jira Account.
-
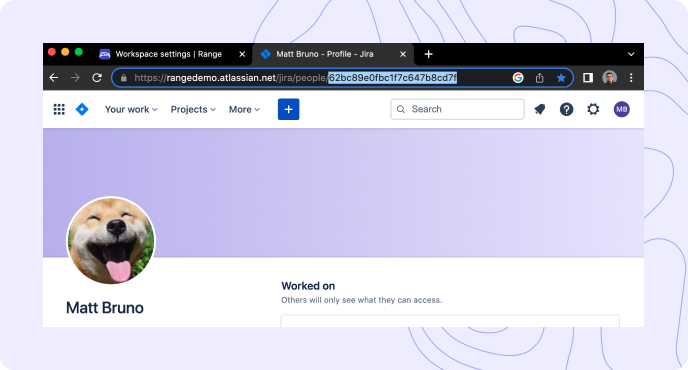
Navigate to your profile.
- Copy your User Account ID from the browser’s URL bar. It should look something like this (7fa70fb5a0b60324cf39f2f3) or this (543210:25a1872b-3dea-2ad1-001f-a3b81762acbe).
-
Find “Jira,” click “Link,” and paste your Jira User Account ID into the field.
Once you do this, you should start seeing future Jira activity in your Check-ins sidebar in Range. If you need help, please click “Chat Support” below or reach out to feedback@range.co.
Can’t find your User Account ID?
If your organization hosts your own instance of Jira, you may be on an older version of Jira that does not yet have Account IDs. In this case, you can use your email address.
Security considerations
Jira is a webhook-only integration and requires a Jira administrator to configure events to be sent to Range servers. We recommend sending all issue related events. However, Jira can be configured using JQL to filter events, such that certain projects are excluded.
By default, users are matched to events via their email address. However, if different email addresses are used, users have the ability to specify an alternate email address.
Range persists the following data from Jira events:
-
Issue Key
-
Issue Summary
-
Issue Description
-
Issue URL
-
Project Name
-
Project Description
-
Project URL
-
Created At
-
Modified At
-
Closed At
-
Status